Acoustic measurements
Hello, my name is Róbert Polgár, I am the owner and acoustic expert of Perfect Acoustic.
You usually contact me by e-mail or phone because of various problems for which I try to find a solution. I share with you some of the instructive and interesting cases here.
Sometimes the simplest solutions that the client did not even consider lead to the accomplishment of long-lasting disorders.
Recently I was invited to such a studio where they were not able to induce quality sounds even after several years of suffering with various electronic replacements (amplifier, DAC, loudspeakers, cables, etc.) and needlessly placing various types of acoustic elements in the wrong places.
-

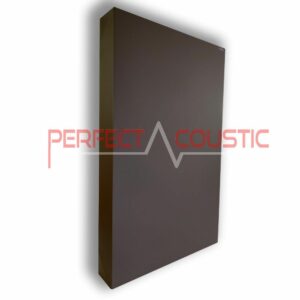
 Sound absorber leather membrane49 € – 253 € +Vat
 -

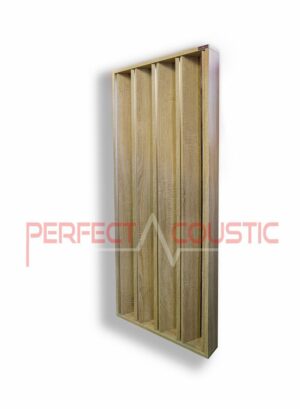
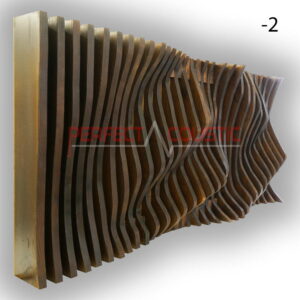
 Column Diffusers179 € – 288 € +Vat


The start of acoustic measurements
First of all, I required the usual photos whereby I measure all sides of the room. Then I have to know the exact sizes of the room, the materials and the types of walls. I usually ask for these data from everybody but I don’t need exact numbers, a broad outline is enough (e.g.: the right walls plasterboard with sleeper absorbing material beneath. the Ceiling is made of concrete, beam, styrofoam cover, etc.).
Planning of the acoustic measurement:
After receiving these data, I start to calculate the current acoustic defects and state of the room using the data. I estimate the type, size, and material of the acoustic panels I need to provide for the measurements.
Packing:
These parameters are important for me to know because I have to decide accordingly what fits into the given room and especially in the truck.
It is important to know whether the client has any special requests. For example, he/she would like to hear how a coffered diffuser or a diffuser face plate panel sounds in his/her home, etc. These are important information so that all acoustic panels would be surely available in the truck practically prepared. That is why the measurement data given in advance are very useful.
Arrival at the location
After arriving at the location, I make the measurement first.
After measuring the room, I place the equipment namely the laptop, the microphone, stands, cables, and a reference level calibrated KRK V8 loudspeaker.
I adore this loudspeaker. It is very detailing and dynamic and creates a nice space in the room. I use it if the measurement curves do not settle for any reason. In such cases I deploy it and in most of the cases we can find out what the matter is. This can be the defect, distortion, or maybe the slowness of the given equipment or loudspeaker. Such slowness often happens. In such cases, the low frequencies are constantly in the sky as the loudspeaker cannot calm down soon enough until the next bass therefore there will be a constant buzzing in the low frequencies.
I identify the problems also by ear with a set of test music. This is my favorite music developed for testing the bass:
-
3D Sound absorbing panels – Size: 60x60x10cm 3kg49 € – 59 € +Vat
-
Cubic Sound Diffuser 60x60x10108 € +Vat


Acoustic Measurements
The length of the room is 5m, the width is 2,7m and the height is 2,7m.
I faced the following curves after the first measurement:

On the pictogram above we can see a reverberation time of RT60.
Based on its dimensions this studio should have an average reverberation time of 0,3s.
Fortunately, that did not surprise me as seeing photos there were a lot of foams put on the wall therefore I asked them to take them off if it is possible. So, I found a freshly painted, empty-walled room. Rather the sound pressure values meant a bigger problem:
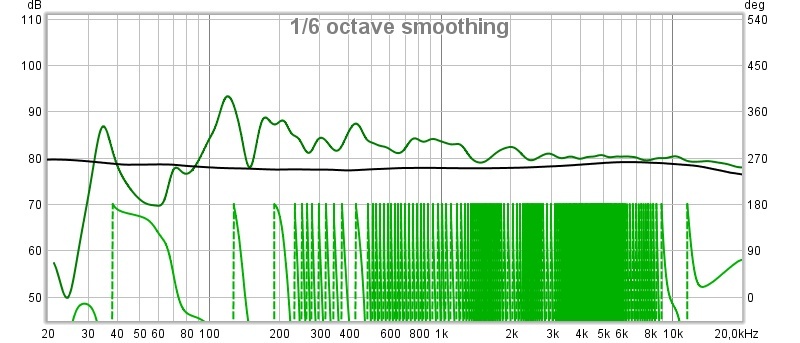
Above you can see an SPL sound pressure curve. This sound is produced not only by the room but also by the sound pressure coming from the loudspeaker.
If you look closely the low frequencies disappear between 90Hz-40Hz.
This is due to the lack of acoustic treatment, the position of the loudspeaker and the seat, the size of the room, and the construction.
-
Grid diffuser133 € +Vat
-
Absorption panels with diffuser-Two in one62 € – 296 € +Vat
The next step is packing
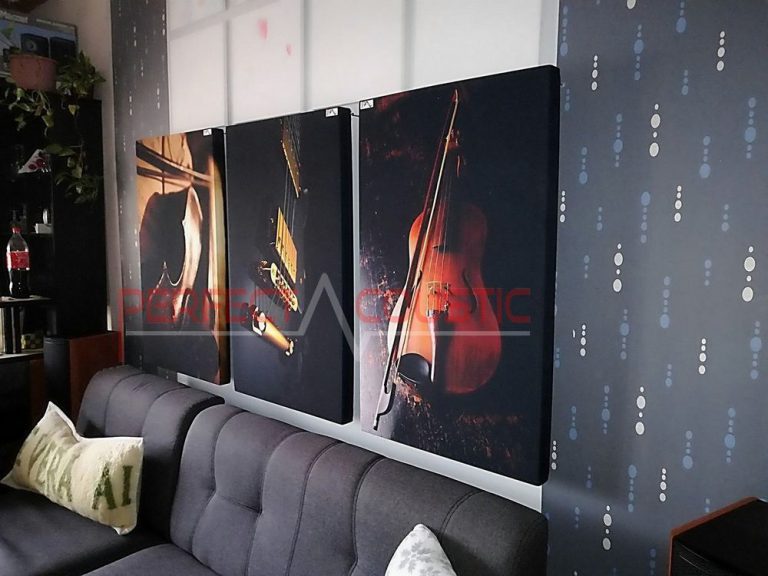
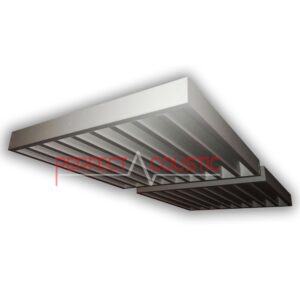
Luckily, I was parking close to the entrance therefore it did not take me long – just a few minutes – to take in and place 10 broadband acoustic panels, leather membrane, double leather membrane, and wood membrane acoustic panels with the owner’s help for the first measurements.
You don’t have to worry about appearance or design. In such events, we just put or lean quickly the acoustic panels where we can.
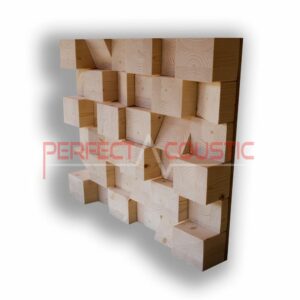
I deliberately didn’t take corner units into this room as I couldn’t have placed them properly due to the design and size of the room. Therefore, I used double leather and wood membrane panels in the corner crosswise, which proved to be very good as we can see in the following measurement:
Before treatment:
After 10 panels:

acoustic reverberation time
Here we modified a little the use of materials. The setting of the most linear reverberation time is very important therefore I used more imitation of leather membrane and acoustic panels with a diffuser.
I used 3 double imitations of leather membrane acoustic panels, 4 normal imitations of leather membrane acoustic panels, 4 classic broadband acoustic panels, and 2 absorbing panels with a diffuser.
The result:

You can see that here we managed to achieve a reverberation of 0,3s.
After that, the pushing and setting of the loudspeaker followed.
That time I faced a problem that I thought I was not able to solve. Namely the sound pressure improved but not sufficiently. The pushing of the listener position and the loudspeakers followed, but the damn range between 90Hz and 40Hz did not change.
That is why I had the idea to rotate the loudspeaker and listener position by 10 degrees which is an unusual way.
That does not mean that we turn the whole room, only the complete turntable together with the chairs around its axis. Thus, we got out of the sitting position from its theoretically perfect position which is at 35% of the room and we placed it in front of the wall 60 cm from it, and we moved the loudspeakers toward the center of the room and it proved to be the best at 38%.
I saw the measurement results with some relief as we managed to break the deadlock that I had thought I could not solve. Of course, it was far from being perfect.
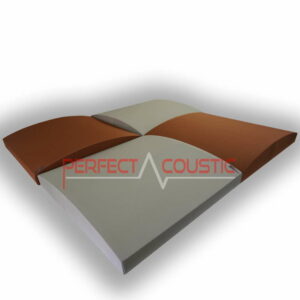
-
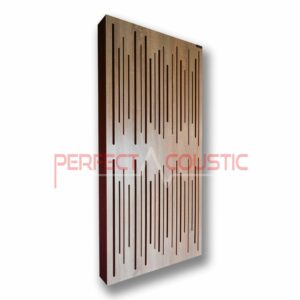
Parametric Wall Art Panel (Diffuser)327 € – 426 € +Vat
-
 Bass acoustic wall panels with double leather membrane83 € – 260 € +Vat

It is true that when we put a panel into a proximity point, e.g. between the loudspeaker and the wall, it causes a rise of several decibels of the bass. Raising this way 3-4dB on the dip.
At the and I managed to find out the biggest problem namely the height of the loudspeaker. As you can see the loudspeaker was sitting on the elevation of the table. It produced terrible sounds on that point. We measured it laid down on the table with the following results:
Before treatment:
In the middle of the treatment, after rotating the table:

After the treatment with the loudspeaker on the table:

It was a huge relief to see this final result.
The final results were very good compared to the first steps.
At this stage, I listen to my test music again and it is nice to hear the dynamics of the drums without buzzing bass rupturing my eardrums or the song Allan Tylor – Wheel of Fortune which involves me by filling the space with his dynamic bass and mid-bass organ while every little detail of the guitar sound can be noticed in the background.
The final step is packing.
I was afraid that I would exceed the basic rate of two hours but luckily, we were very close to it after finishing the packing.
In conclusion, a studio of that size can be managed with 19 acoustic panels in total to achieve superb reference values by the end.
Thank you for dropping by. SzG